OSX 10.8でWeb共有を有効にする
OSX 10.8では「Web共有」のシステム環境設定がなくなってしまった...。システム環境設定 >> 共有を開いても、そこには「Web共有」の項目は見当たらないのだ。しかし、それほど幻滅することはない。なくなってしまったのはGUIの設定環境だけである。「Web共有」を実現する仕組みはしっかり残っているのだ。必要な設定ファイルを自分で追加して、apachectlコマンドを操作することで、いつでもWeb共有は有効にできるのだ。
Web共有を有効にする手順
以下の4つの手順を実行することで、Web共有は有効になるのだ!
動作確認用に~/Sites/index.htmlも追加
- ログインユーザー権限のWebページとして、「Now Web Sharing!」というテキストファイルも保存しておいた。
echo Now Web Sharing! > ~/Sites/index.html
apacheの設定ファイルを追加
- /etc/apache2/users/USER_NAME.confにWeb共有するための設定ファイルを保存するのだ。
- 例えば、ログインユーザー名がzariであれば、/etc/apache2/users/zari.confに以下の設定を保存することになる。
<Directory "/Users/zari/Sites/">
    Options Indexes MultiViews
    AllowOverride None
    Order allow,deny
    Allow from all
</Directory>
動作確認
ちゃんと動いている様子だ。
- http://localhost
- /Library/WebServer/Documents/index.html.enの内容が表示されている。
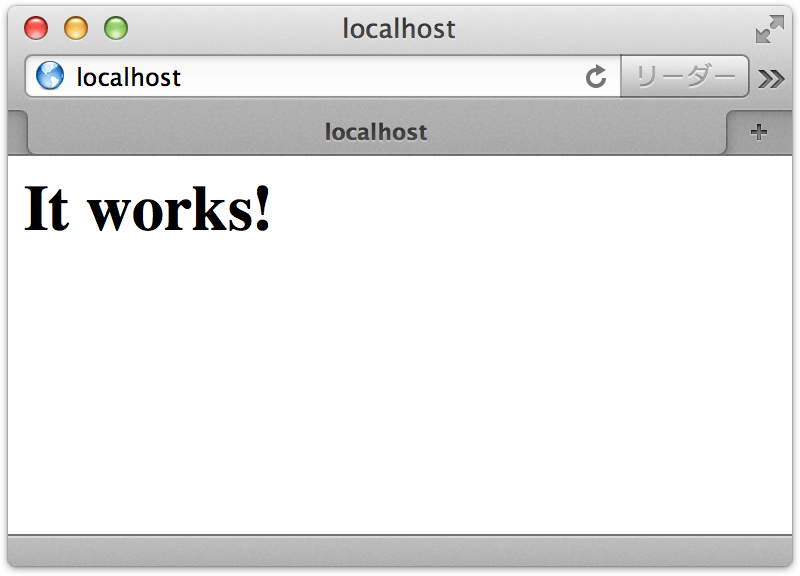
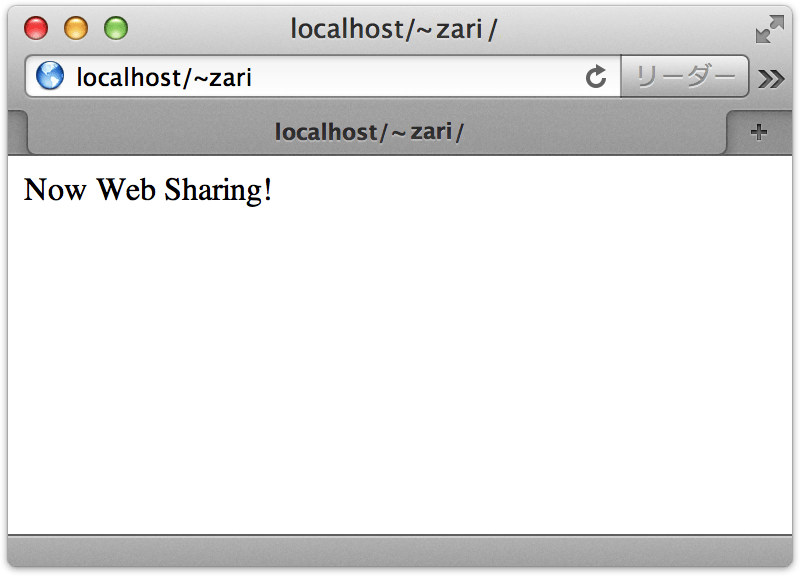
- http://localhost/~zari
- ~/Sites/index.htmlの内容が表示されている。
AppleScriptにまとめる
- 一旦Web共有の環境を設定をしてしまえば、apachectl start・apachectl stopでON・OFFできるのだけど、
- 現在のWeb共有の状態を知りたいとか、将来OSX10.8を再インストールした時に備えて、
- 上記の方法をしっかり覚えておきたいので、お決まりのAppleScriptにまとめてみた。
activate

 set msg to "


   - 初回のみ、Web共有の環境設定が必要

    (commandキーを押しながらON)

   - 2回目以降、ON・OFFの操作のみでOK"

 set res to display dialog web_sharing_msg() & msg buttons {"キャンセル", "OFF", "ON"} cancel button 1 default button web_sharing_btn() with title "Web共有コントローラー"


 if res's button returned = "ON" and getModifierKeys() contains "command" then

   apachectl_init() end if


 if res's button returned = "ON" and not web_sharing_state() then

   apachectl_start() end if


 if res's button returned = "OFF" and web_sharing_state() then

   apachectl_stop() end if


 on apachectl_init()   activate

   do shell script "mkdir -p ~/Sites"

   --do shell script "chmod +x ~/Sites" --不要

   do shell script "[ -f ~/Sites/index.html ] || echo Now Web Sharing! > ~/Sites/index.html"

   do shell script "f=/etc/apache2/users/`basename $HOME`.conf

 [ -f $f ] || cat <<EOS > $f

 <Directory \"$HOME/Sites/\">

     Options Indexes MultiViews

     AllowOverride None

     Order allow,deny

     Allow from all

 </Directory>

 EOS" with administrator privileges

      do shell script "apachectl stop" with administrator privileges

   do shell script "apachectl start" with administrator privileges

      set user_name to do shell script "basename $HOME"

   open location "http://localhost/~" & user_name

   do shell script "open ~/Sites"

   do shell script "open /etc/apache2/users"

 end apachectl_init


 on apachectl_start()   activate

   do shell script "apachectl start" with administrator privileges

 end apachectl_start


 on apachectl_stop()   activate

   do shell script "apachectl stop" with administrator privileges

 end apachectl_stop


 on web_sharing_btn()   if web_sharing_state() then

     3

   else

     2

   end if

 end web_sharing_btn


 on web_sharing_msg()   if web_sharing_state() then

     "Web共有の状態: ON"

   else

     "Web共有の状態: OFF"

   end if

 end web_sharing_msg


 on web_sharing_state()   try

     do shell script "curl -s http://localhost/~`basename $HOME`/index.html"

     true

   on error

     false

   end try

 end web_sharing_state


 --http://memogakisouko.appspot.com/AppleScript.html#getModifierKeys(感謝!!)

 on getModifierKeys()   set theRubyScript to "require 'osx/cocoa';

 event=OSX::CGEventCreate(nil);

 mods=OSX::CGEventGetFlags(event);

 print mods,' ';

 print 'shift ' if (mods&0x00020000)!=0;

 print 'control ' if(mods&0x00040000)!=0;

 print 'option ' if(mods & 0x00080000)!=0;

 print 'command ' if(mods & 0x00100000)!=0;

 "

   return do shell script "/usr/bin/ruby -e " & quoted form of theRubyScript

 end getModifierKeys
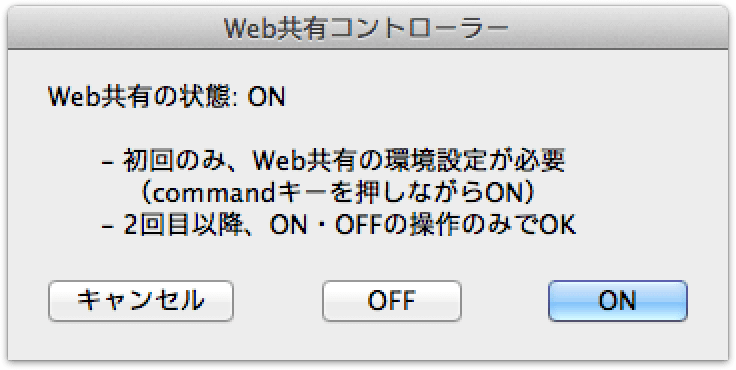
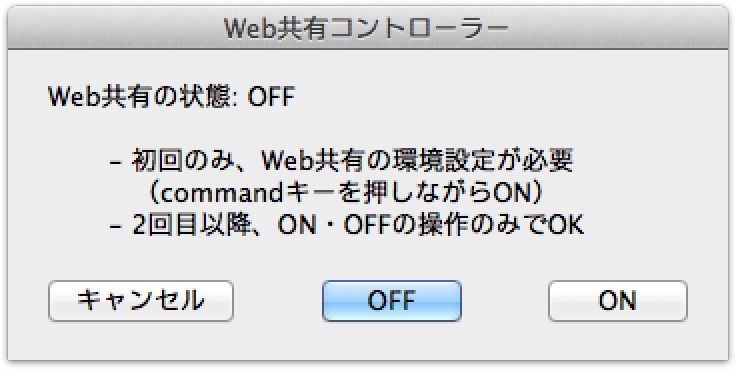
- 上記スクリプトを実行すると、以下のように表示され、状態の確認と操作ができるのだ。
活用
- 例えば、写真のたくさん入ったmy_picturesフォルダがあったとして、それを~/Sites/my_pictures に移動すれば、一瞬にしてWebブラウザでアクセスできるようになるのだ。
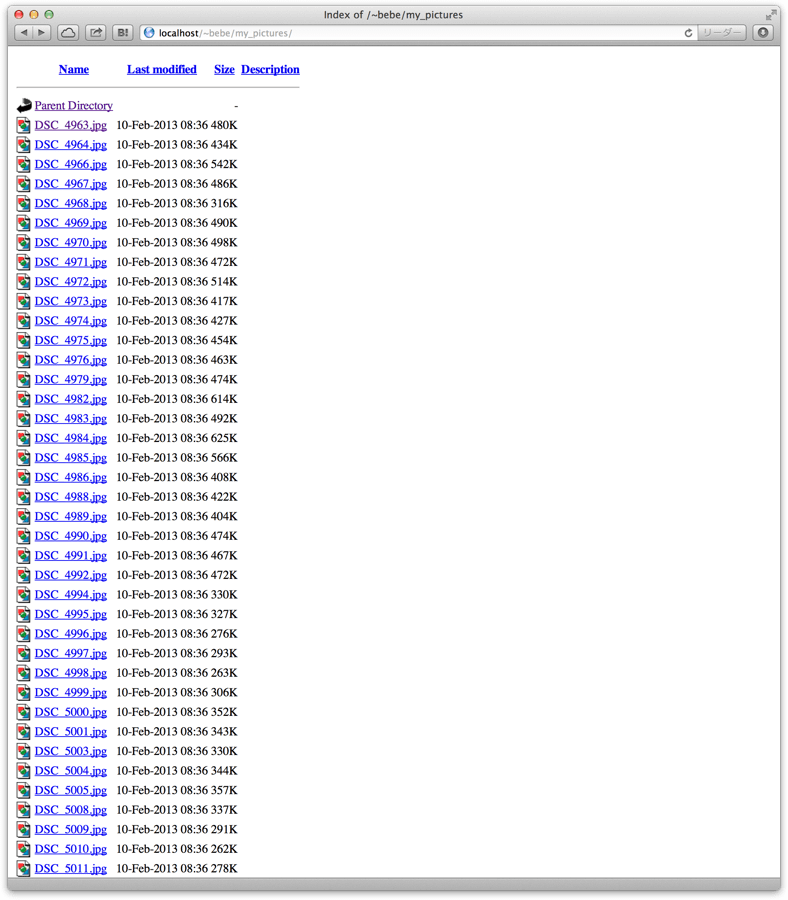
- このように、Web共有にはファイルをリスト表示してくれる仕組みがある。
- 数GBの動画やzip圧縮したファイルだって、一瞬にして簡単に共有できるのだ。
- 但し、相手がダウンロードするには回線速度に応じた時間がかかるのであるが。